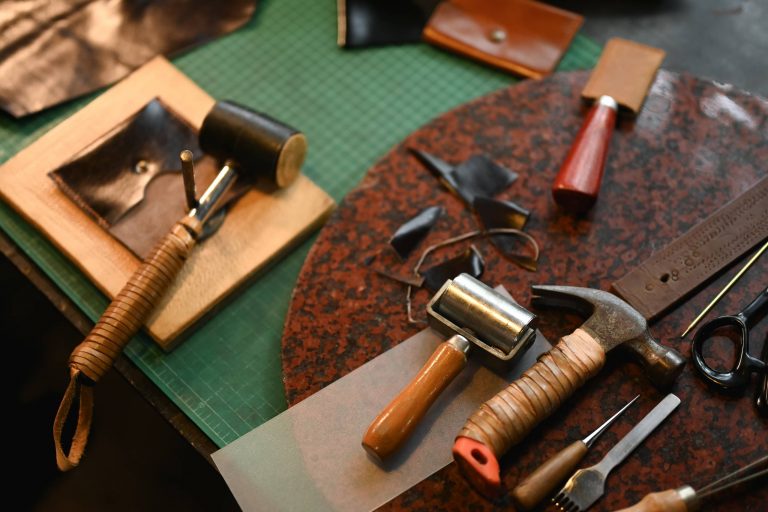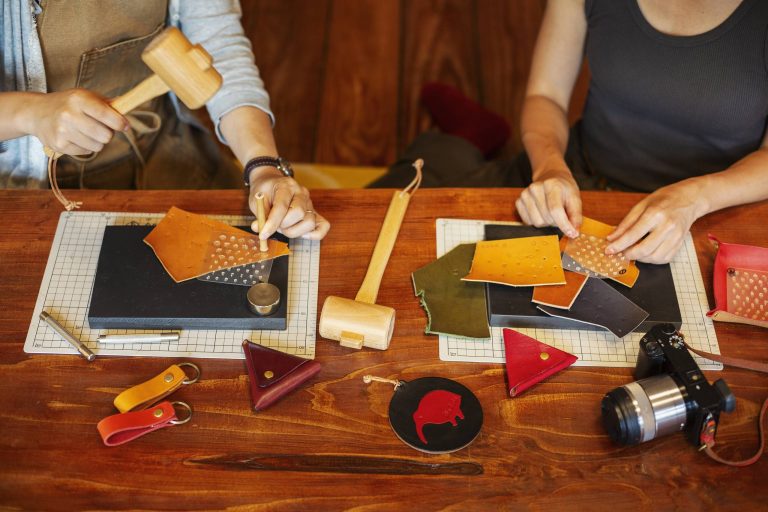
A good starting point for leather embossing is to assemble a working collection of tools. It is important to note that, like any tool, no two stamps are created equal. It is better to have a smaller number of quality tools than to own every stamp ever made. Look for stamps made from hardened steel that will maintain their shape even after repeated striking. A typical working set will include a set of alphabet stamps, a few geometric stamps (for making borders), and one or two floral stamps (for making embellishments).
Special mention must be made of the swivel knife. It is the most indispensable tool an embosser uses and is a cutting tool as well as a sculpting tool for outlining the motif before stamping begins. Practiced use of the tool helps the user learn to make smooth and consistent bevel cuts by following lines that have been previously traced onto the surface of the material. The use of the straight edge of the tool creates sharp bevels while the use of the bevel side of the tool creates soft bevels.
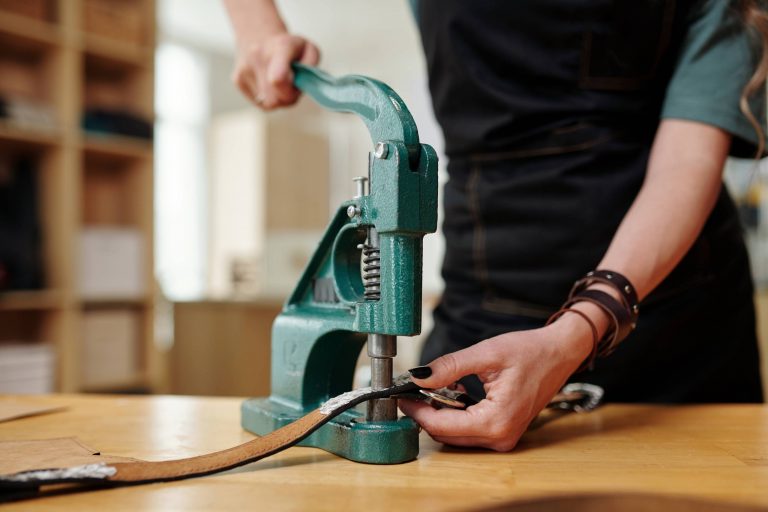
The mallet/maul is your power behind your strike, and what you choose will effect the amount of force you need to use, as well as the impression quality. A rawhide or poly mallet offers a dead blow with minimal ring, and is perfect for building up depth in a strike. It’s ideal for use on soft or thinner leathers. A brass or weighted maul is better for heavier leathers or when you need to strike several stamps in a pattern and you want to ensure the pressure is even over a larger area. You will get a feel for the ideal mallet weight for the leather you’re using and the size of the stamp. This will help you avoid using too much force, which can flatten out details, or too little force which will result in a light impression.
Temperature control is the other key part of tool handling, and it is relevant to anyone wishing to do hot stamping, foils, or pyrography on leather. Alcohol lamps or electric branding irons are examples of simple heat sources that can be used for these techniques.