One of the essential skills to hone when it comes to leather embossing is tool selection and customization. Choosing the right tool for the job and personalizing it to suit your needs can make a huge difference in the quality of your embossing work. Here are a few ways you can customize your tools for better results:
1. Modification: You can modify your tools to achieve specific effects. For instance, if you want to create a design with rounded corners, you can use a square tool and modify it to produce rounded corners instead.
2. Combining tools: You can combine two tools to create a new tool. For example, you can combine a beveler with a creaser to make a creaser with a beveler tip.
3. Creating new tools: You can also create entirely new tools using various materials like metal, plastic, or even 3D print them. By customizing and selecting the appropriate tools, you can take your leather embossing skills to the next level and produce unique designs that stand out from the rest.
If there is one tool that should be featured as an essential when it comes to embossing, it is the swivel knife. Not only is it used for cutting, but the swivel knife also acts as an outline tool, helping to detail the lines of your embossing piece before you make an impression. Place the knife in your hand at the same angle and pressure as the lines you trace, and as your hand becomes steadier, use it to make a bevel cut to define your impression lines. It helps to ensure that your impression will hold. Use a straight blade for a sharp line or a slanted blade for a softer bevel.
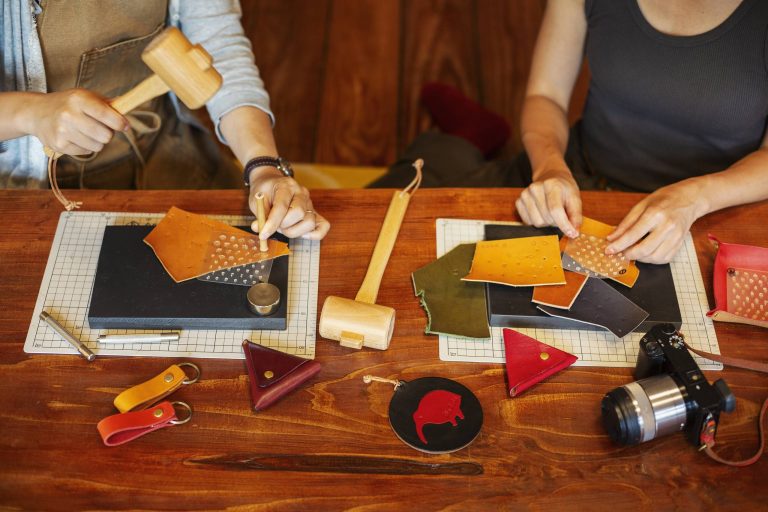
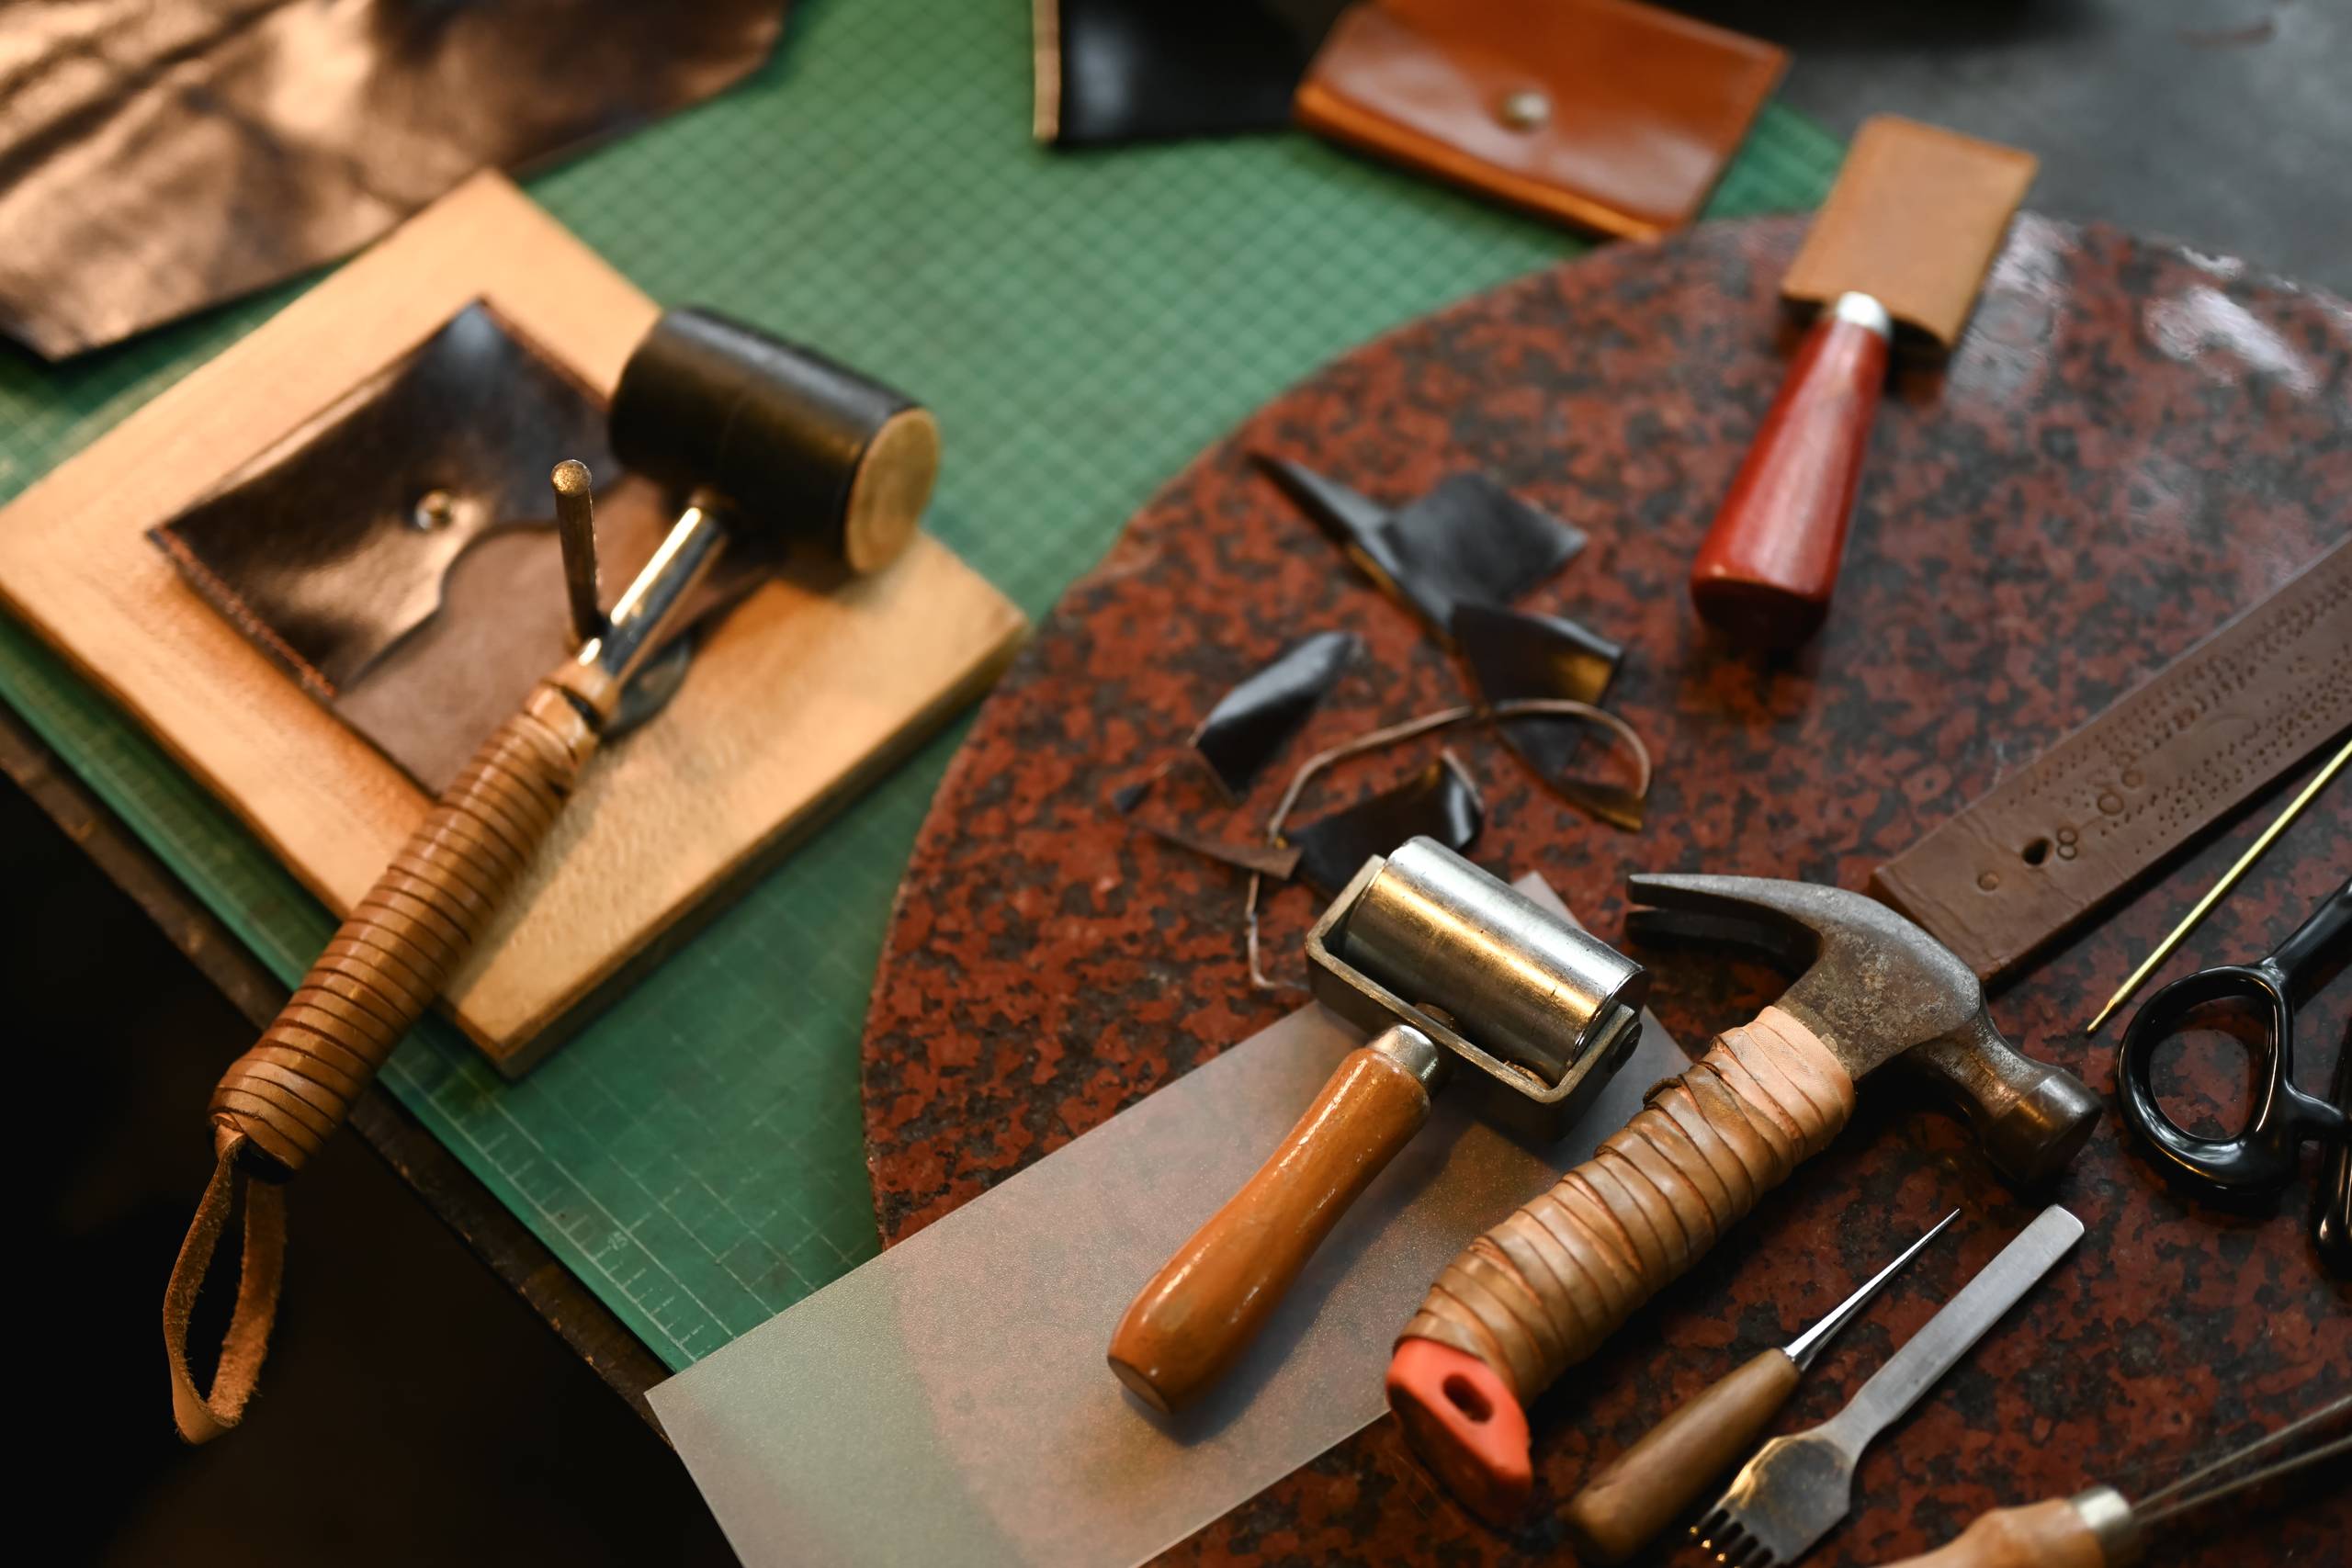
The mallet/maul is what gives the stamp the power to make the impression, and the type used will affect both the amount of energy you have to expend and the impression you get. A rawhide or poly mallet will produce a less sharp blow, and will deaden the ring. This will make it easier to control the depth of impression, and is often desirable when working on soft or thin leather. A brass mallet or a heavy maul will give you the force you need to work on thick leather, or when using several stamps spaced closely together, when you need to apply even pressure over a broad area.
If you want to add hot stamping, foil, or pyrography to your leather, you will need to learn how to control a heating tool. Using an alcohol lamp or branding iron can help you achieve a crisper release with hot stamps and a more even shine with foil. If the temperature is not hot enough, the foil won’t adhere properly. If it is too hot, you can burn the leather or get a blurred impression. Most people prefer using a heat source where you can adjust the temperature for whatever type of foil you are using or however thick your leather is. This brings a technique that seems complicated down to a simple way to add even more dimension to your projects. When heated tools are used with dampened leather, they produce a pop of shine that stands out against an otherwise matte finish.
Eventually, the process of tool selection and modification shifts from being about filling needs to being about personal preference. Each stamp altered and each mallet purchased becomes a reflection of a craftsperson’s personal aesthetic. There’s always room for experimentation and improvement, and when I start a new project, I often find myself thinking “I could make this easier if I had a tool that was slightly different.” After spending some time with the tools, the workbench begins to become a workshop for tool modification and development.